How to Create a Stunning DIY Easter Egg Tree: Step-by-Step Guide
This post contains affiliate links. I only recommend products I use and love. Read the full disclosure here
Spring is in the air, and Easter is right around the corner! One of the most delightful ways to decorate for Easter is by creating a DIY Easter Egg Tree. This charming and festive centerpiece brings a touch of spring indoors and out, and is a perfect way to showcase beautifully decorated eggs. Whether you’re crafting one for your home, a party, or as a fun family activity, this step-by-step guide will help you create a stunning Easter egg tree that fits your style and budget.
Why You’ll Love This DIY Easter Egg Tree
✔ Easy and Affordable – Made with simple materials you can find at home or craft stores.
✔ Customizable – Pick your favorite colors, decorations, and themes.
✔ Kid-Friendly Craft – A fun and interactive way to involve the whole family.
✔ Reusable – Store and reuse year after year for a beautiful Easter tradition.
Materials You’ll Need
To get started, gather the following materials:
- Branches or a small tree (real or artificial)
- Decorative eggs (plastic eggs, wooden eggs, or real blown-out eggs)
- Paints, markers, or dye
- Ribbons, twine, or fishing line (for hanging eggs)
- Hot glue gun and glue sticks
- Glitter, stickers, or embellishments (optional)
- Small flower pot, vase, or basket (to hold the branches)
- Floral foam, pebbles, or sand (for stability)
Step-by-Step Instructions
Step 1: Choose and Prepare Your Tree Base
First, select sturdy branches that resemble a tree or use a pre-made artificial tree. Trim any excess twigs and place the branches into a vase, flower pot, or decorative basket. Secure them with floral foam, sand, or pebbles to keep them upright and stable.
Step 2: Decorate Your Easter Eggs
Now comes the fun part! Decorate your eggs using various techniques:
- Paint them in pastel or vibrant colors.
- Dye them using food coloring or natural dyes.
- Add glitter or stickers for extra sparkle.
- Draw designs with markers or fine-tip pens.
If using real eggs, make sure you blow the eggs out and let them fully dry before decorating.
Step 3: Attach Hanging Strings
Once your eggs are decorated and dry, attach ribbons, twine, or fishing line for hanging. Secure the string by gluing it to the top of each egg or threading it through a small hole.
Step 4: Hang Your Eggs on the Tree
Carefully hang your decorated eggs on the branches, spreading them evenly for balance. Add variety by using different lengths of string.
Step 5: Add Extra Decorations (Optional)
Enhance the beauty of your Easter tree with:
- Mini fairy lights for a glowing effect
- Artificial flowers for a springtime touch
- Butterfly or bird decorations for a whimsical feel

Easter Egg Tree Variations
Want to make your tree unique? Try these ideas:
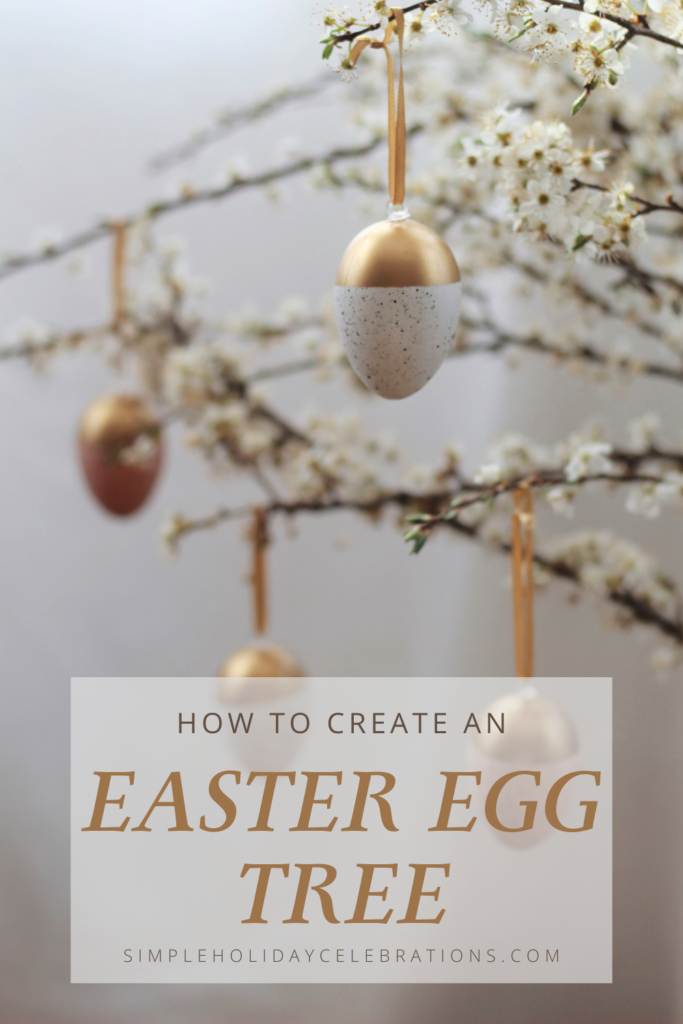
- Rustic Charm: Use wooden eggs, burlap ribbons, and neutral colors.
- Pastel Elegance: Stick to soft pastel hues with delicate gold accents.
- Bold and Bright: Opt for neon or rainbow-colored eggs for a fun, modern look.
- Minimalist Beauty: Keep it simple with white eggs and greenery.
- Outdoor Decor: Take it outside for a festive Easter look.
Tips for a Stunning DIY Easter Egg Tree
✔ Use lightweight eggs to avoid weighing down the branches.
✔ Keep color themes consistent for a polished look.
✔ Choose a vase or pot that complements your home decor.
✔ Store decorations carefully to reuse next year.
Frequently Asked Questions (FAQs)
Q: Can I use real eggs for this project?
A: Yes! Just make sure they are blown-out eggs so they’re lightweight and won’t spoil.
Q: How long will a real branch Easter egg tree last?
A: If using fresh branches, they can last a couple of weeks. Consider using dried or artificial branches for a longer-lasting decoration.
Q: Where can I find decorative eggs?
A: Craft stores, dollar stores, and online retailers sell plastic, wooden, or foam eggs that are perfect for decorating.
Q: How do I store my Easter egg tree for next year?
A: Carefully remove the eggs, wrap them in tissue paper, and store them in a box. Keep the branches in a dry place to prevent damage.

Final Thoughts
Creating a DIY Easter Egg Tree is a fun and festive way to celebrate Easter while adding a personalized touch to your home decor. Whether you keep it simple or go all out with embellishments, this project is sure to bring joy to your holiday season.
We’d love to see your Easter egg trees! Tag us on Instagram @yourhandle or use #EasterEggTree to share your creations!
Happy crafting and Happy Easter!
